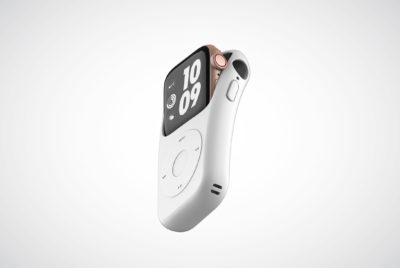
I have been using two prototyping tools consistently over the years. The first one is Protopie, which has been my go-to tool for bringing device prototyping ideas to reality. Protopie offers numerous features, with its standout quality being its exceptional trigger/event-based functionality that allows for the creation of applications that closely resemble real ones. However, it does have some limitations, such as the absence of features like Auto Layout in Figma and limited sharing capabilities.
Protopie interface

However, I discovered a remarkable tool known as Rive.
When it comes to animation tools, I have alternated between After Effects and Figma for simpler animations. However, my recent discovery of an app called Rive has shifted my preference. Rive claims to enable the creation of interactive animations that can run seamlessly across various platforms, and it lives up to this promise. The application works exceptionally well, and I have witnessed numerous impressive examples produced using Rive.
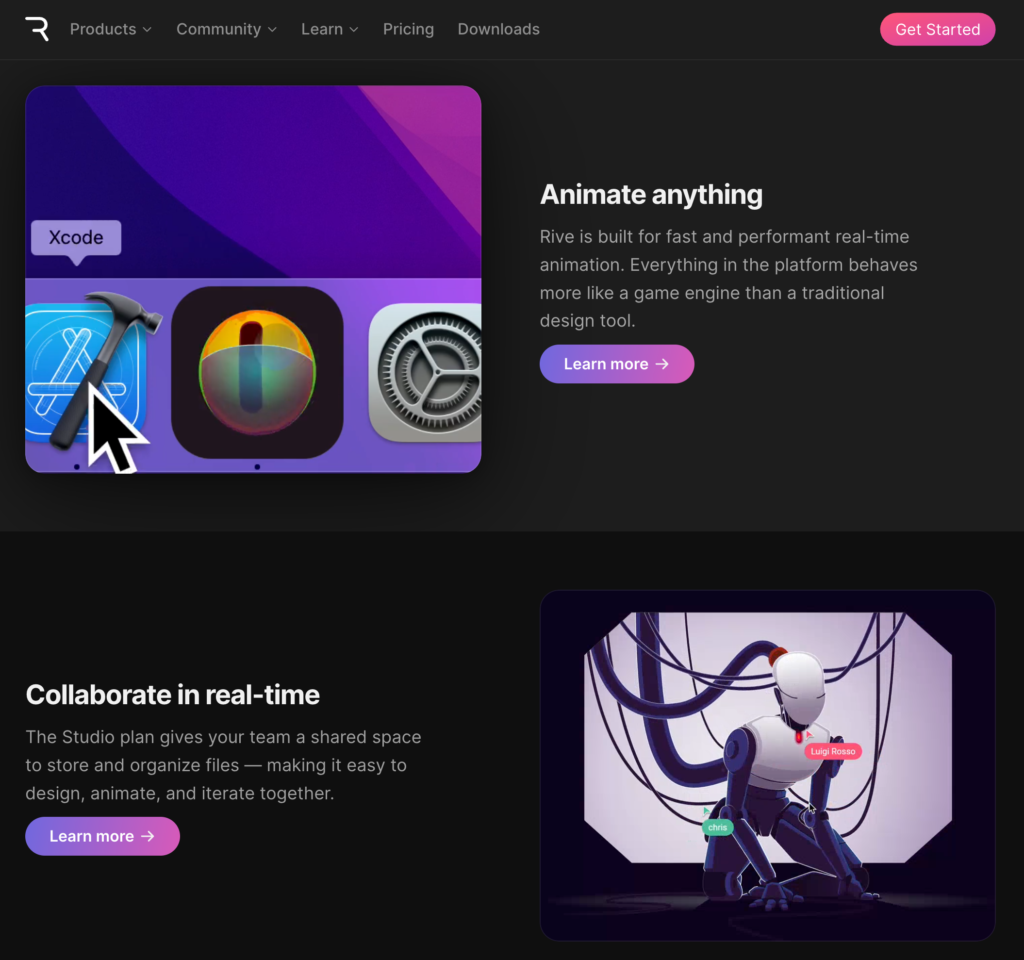
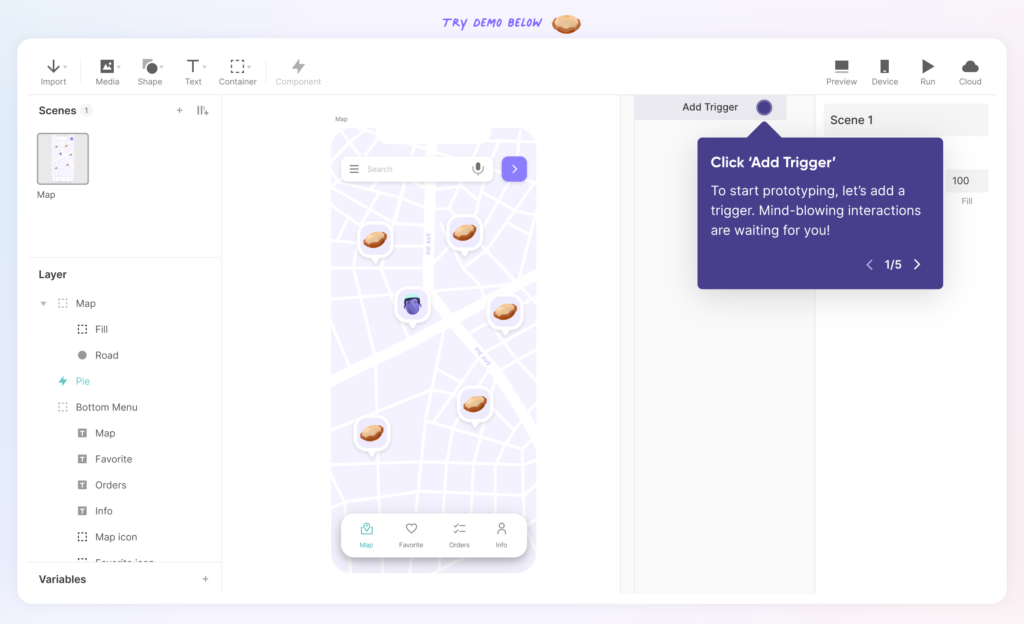
This year, I decided to incorporate Rive into my workflow and explore the use of open-source runtimes with a no-code approach. I am a staunch advocate of the no-code philosophy, particularly for straightforward projects that would otherwise involve excessive redundancy. Rive has proven to be an excellent choice for me as a hybrid design and developer. Not only is it open-source and free, but it also doesn’t require installation. Additionally, it integrates seamlessly with vector graphics and boasts features like state machines and mesh deformation, making it a versatile and powerful tool for my creative endeavors.